Window frosting is a great way to make your home or business more private. If you don’t want to hire a professional, you can buy window frosting from Bunnings (or most other hardware stores) and apply it yourself.
Today, we’re sharing our tips for applying window frosting like a pro. Here’s what you need to know.
What you'll need
- Frost window film
- Pack of microfibre cleaning cloths.
- Antibacterial disinfectant wipes.
- A Stanley knife.
- A window squeegee.
- A plastic scraper.
- A spray bottle.
- A measuring tape.
- Pen and paper to write measurements.
- Masking tape.
Step 1 – Clean your windows
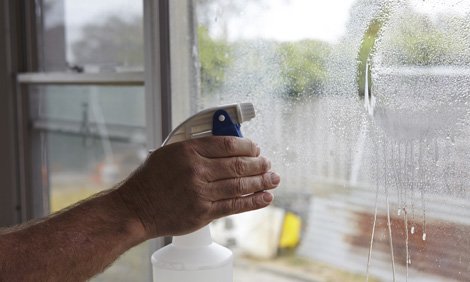
Before you even think about applying window frosting, you’ll need to make sure your windows are in ship shape. We recommend using a mixture of water and baby shampoo to remove dirt or grease build ups from the glass.
Using a damp cloth, rub the soap mixture onto the window and do your absolute best to clean the window thoroughly. The cleaner your window, the better the adhesive on the window frosting will stick to the glass.

Image source: Bunnings

Image source: Bunnings
Step 2 – Cut the window frosting to size
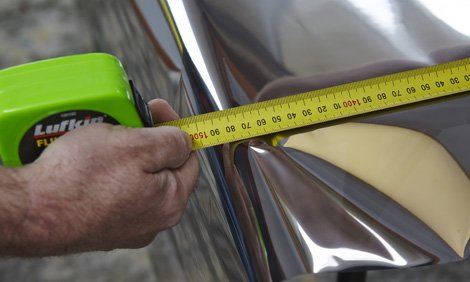
Now it’s time to measure the window and cut the window frosting to size. First, measure the height and width of the glass, then add an extra 5cm to each side. Having an overlap will give you some breathing room, and you can cut off the excess later.
After you have cut the window frosting, place it over the window you’re going to cover. This is just to make sure the window frosting you have measured and cut is the correct size.
Step 3 – Prepare the window frosting
Carefully peel only a few centimetres of the frosting from its backing. Sometimes it can be hard to separate the backing from the frosting, so you may like to put masking tape on either side of the corners to help separate them.
Remember, you’re only separating a few centimetres of the window frosting at first. Once you have done this, stick the window frosting right above your window, using the masking tape.
Step 4 – Apply the window frosting
Grab your spray bottle (the one filled with water and baby shampoo) and then generously spray the entire window with a coating of the mixture. When the window is wet, it’s easier to make adjustments to the frosting.
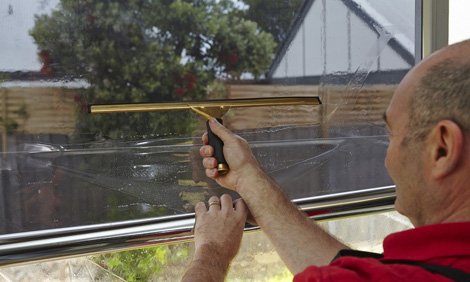
Now it’s time to carefully peel off the backing from the window frosting, and then push or place it onto the window. When you think you have it in the right spot, get your squeegee and use it to push any air bubbles or liquid out.
Make sure you begin from the centre, and move outwards to the edges of the glass

Image source: Bunnings

Image source: Bunnings
Step 5 – Trim the window frosting
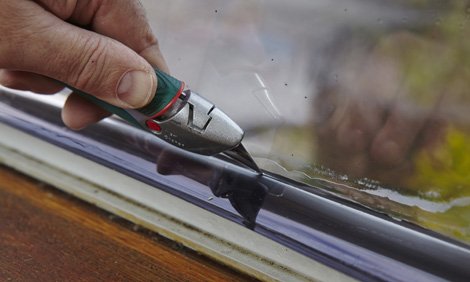
You have probably noticed the excess window frosting around the glass. Pick up your Stanley knife and use it to trim around the edges. To do this, simply move the knife around the edges of the window, and remove the excess frosting.
Once the trimming has been done, grab your squeegee and do one last pass over the window to remove any excess water or bubbles. Just like before, start from the centre, and move outwards towards the edges of the window.
Need more help with your window frosting?
If you’d rather leave your window frosting to the experts, give us a call, and we can apply it for you. This service is surprisingly affordable and very efficient. Plus, you’ll know it’s done right from the get-go.


